
What we did
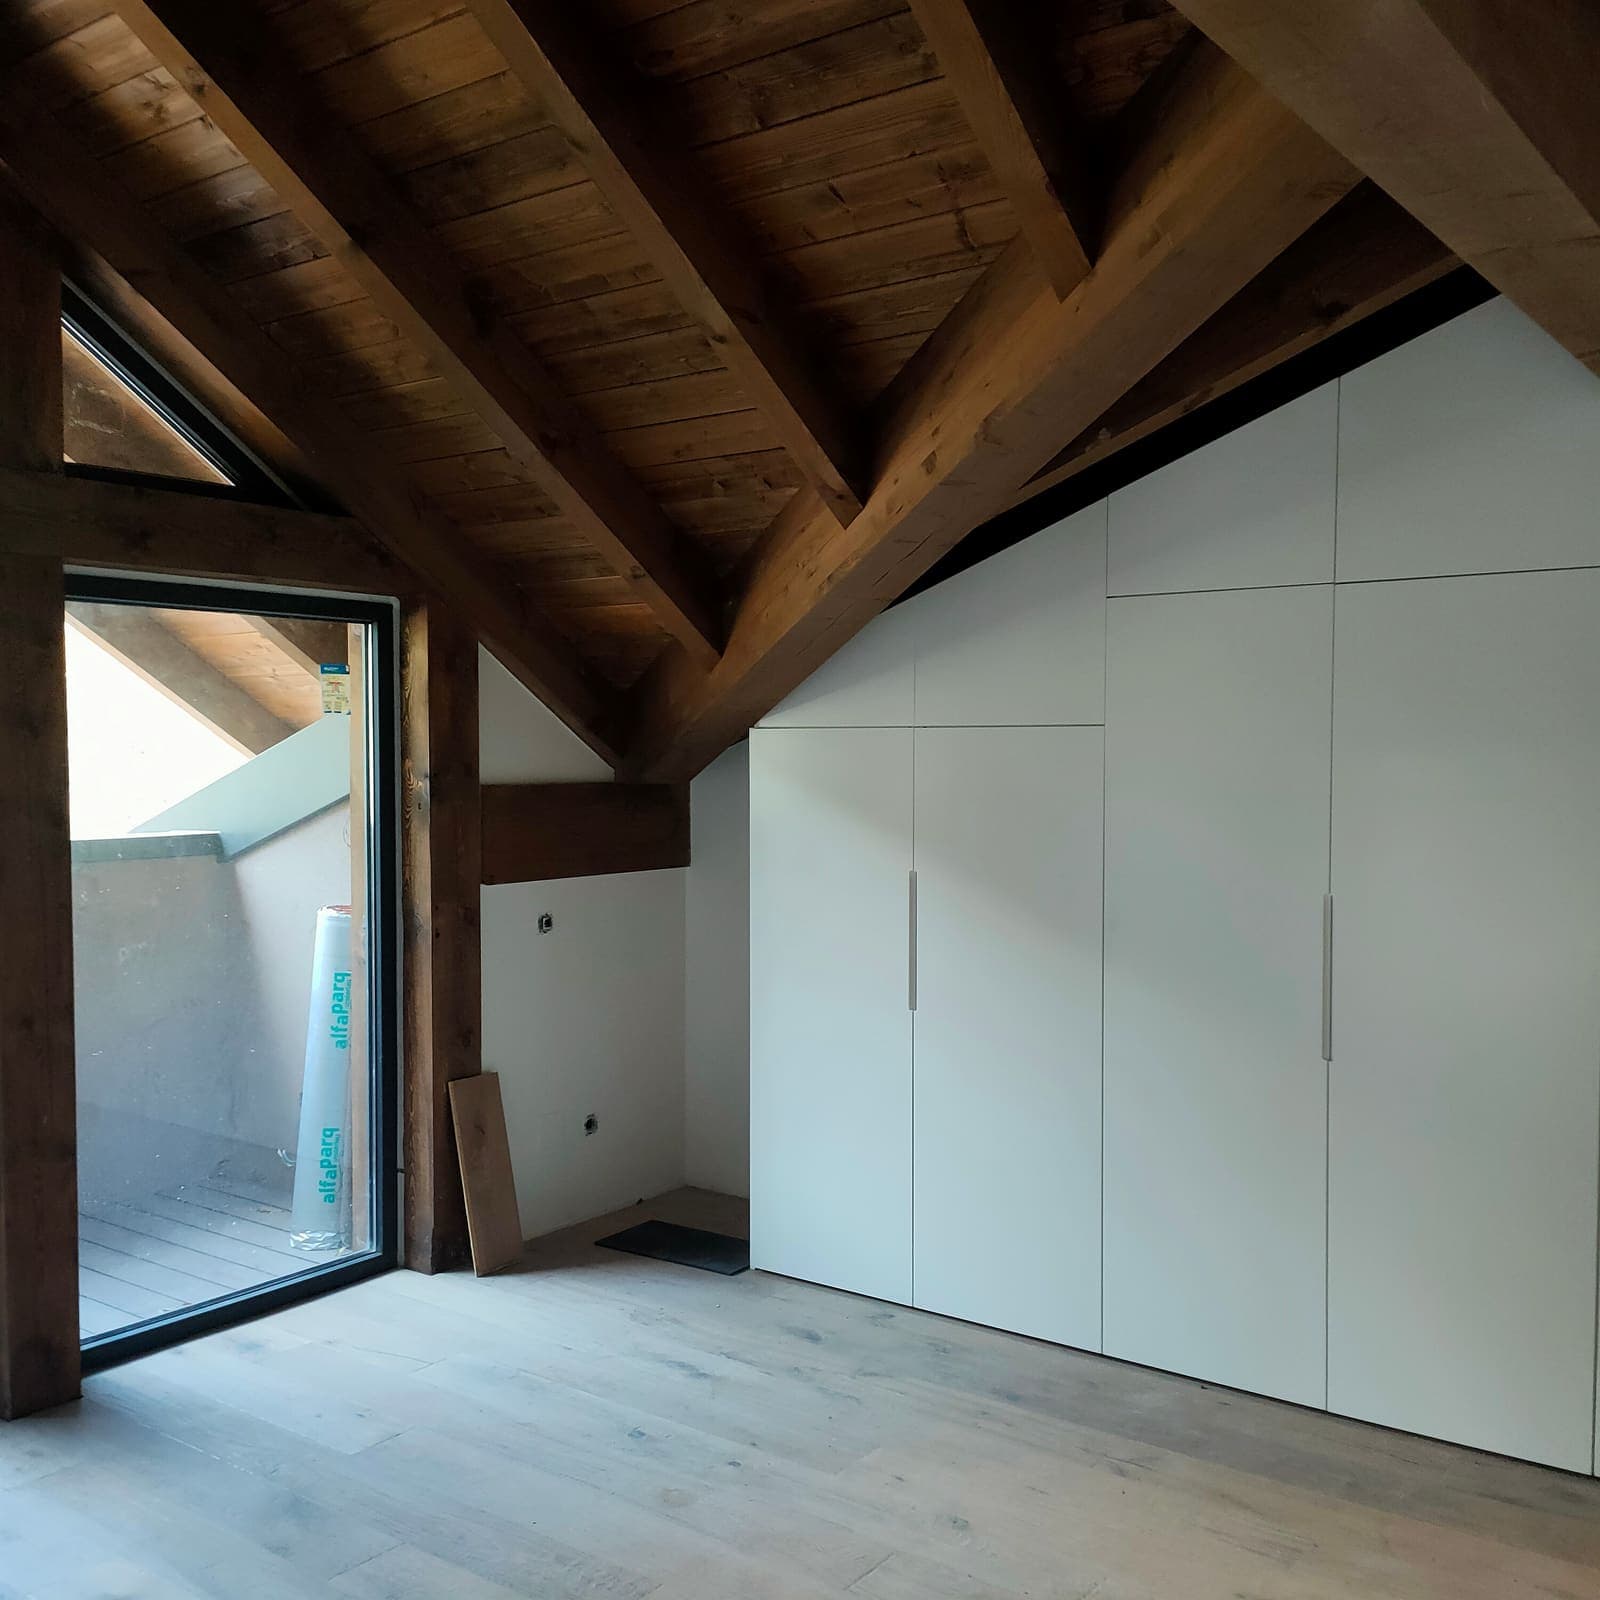
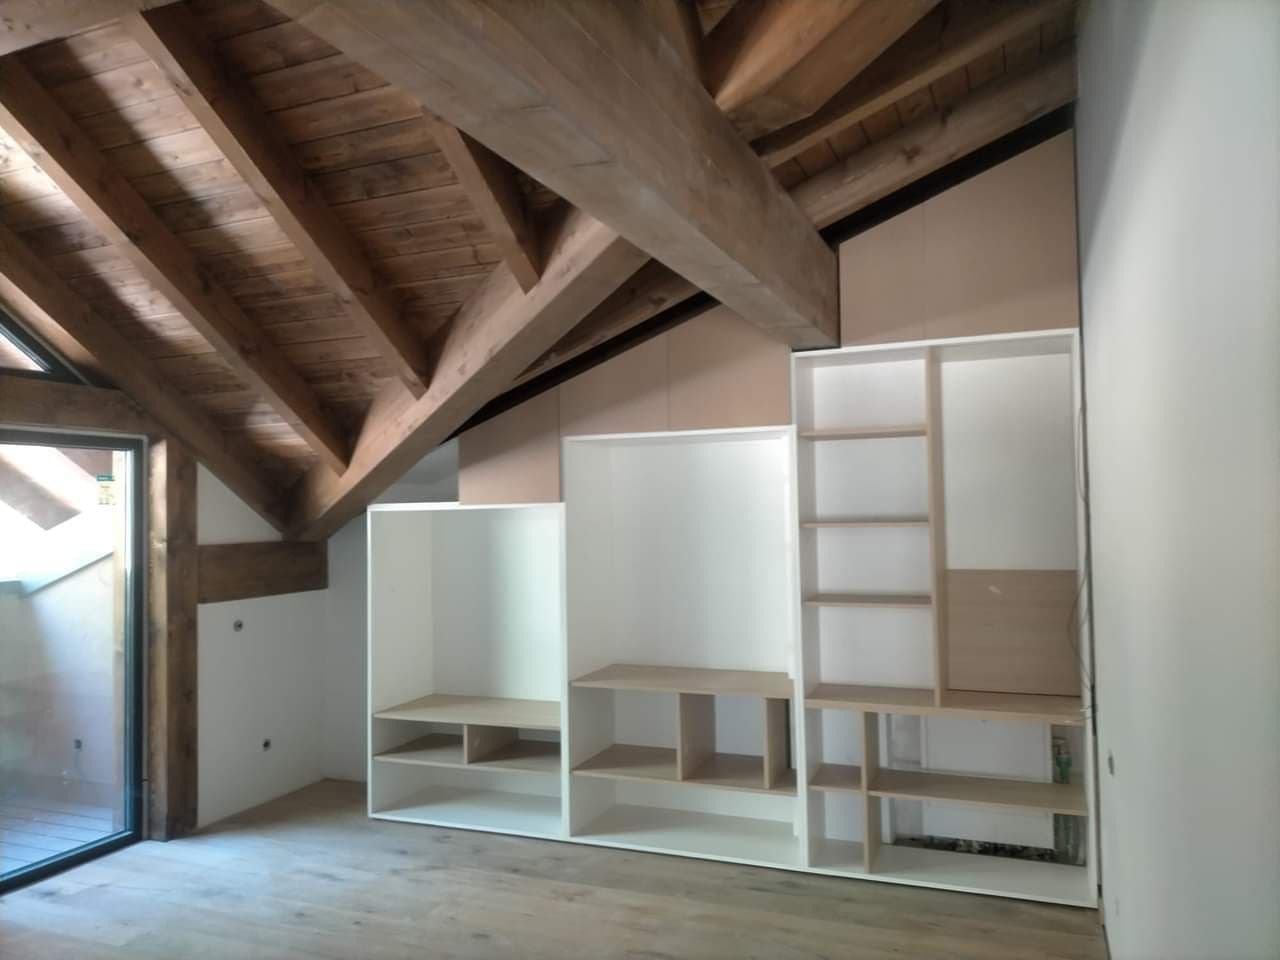
- Bespoke built-in wardrobe in the attic, shaped to the sloping roof
- Installation of the ground-floor kitchen
- Installation of a second kitchen in the attic
- Timber sliding doors
- Natural timber cladding on door and window frames
- Mouldings and trims on the large windows
- Fitting all the joinery to a space with irregular geometry
A timber-and-stone villa that called for bespoke joinery
The villa has exposed beams, stone walls and a sloping roof that comes right down to the floor in the attic. Nothing was straight or standard: every window opening was a different size and the attic space simply could not take off-the-shelf furniture. The client wanted the joinery to follow the character of the house, with natural timber on show, and to make the most of the attic with storage and a second kitchen.
Materials and details
- Natural timber boards to clad the jambs and lintels of doors and windows, matching the roof beams.
- Attic wardrobe with a white front and a carcass cut to follow the pitch of the roof, so not a single gap goes to waste.
- Two kitchens: one on the ground floor with timber units and a dark worktop, and another in the attic in blue, fitted beside the glass balustrade of the staircase.
- Oak sliding doors in the openings through the stone wall, which take up no room when opened.
How it was done
Yuriy measured opening by opening and cut every piece on site, because in a house like this no two frames are the same. First the sub-frames were levelled and the openings through the stone were prepared; then the timber cladding went on, the external mouldings were fitted to the large windows and, finally, the kitchens, the attic wardrobe and the sliding doors were installed. Everything was fitted tight, with no filler or cover strips to hide anything.
Work in progress
Tap a photo to follow the work step by step.
- 1
Attic wardrobe carcass
Setting out under the sloping roof and building the internal carcass to follow the pitch and the beams.
- 2
Openings in the stone wall
Preparing the doorways through the stone wall to take the frames and sliding doors.
- 3
Frames prepared
Levelling and fixing the door and window sub-frames before cladding them in timber.
- 4
Timber cladding
Cutting and fitting the natural timber boards on jambs and lintels, with the joints glued and fixed.
- 5
Fitting mouldings and trims
Fitting the external mouldings and trims to the attic windows from the scaffold.
Project photos
Tap a photo to enlarge it.
“The attic was an impossible shape and Yuriy managed a wardrobe that makes use of every corner. The timber on the windows gives the house exactly the feel we were after.”