
What we did
- Setting out and checking water, waste and electrical points
- Fitting and levelling base and wall units
- Ducting and extractor hood
- Worktop, sink and tap
- Built-in oven and hob, fully connected
- Adjusting doors and drawers, final finishing touches
A simple kitchen, properly fitted
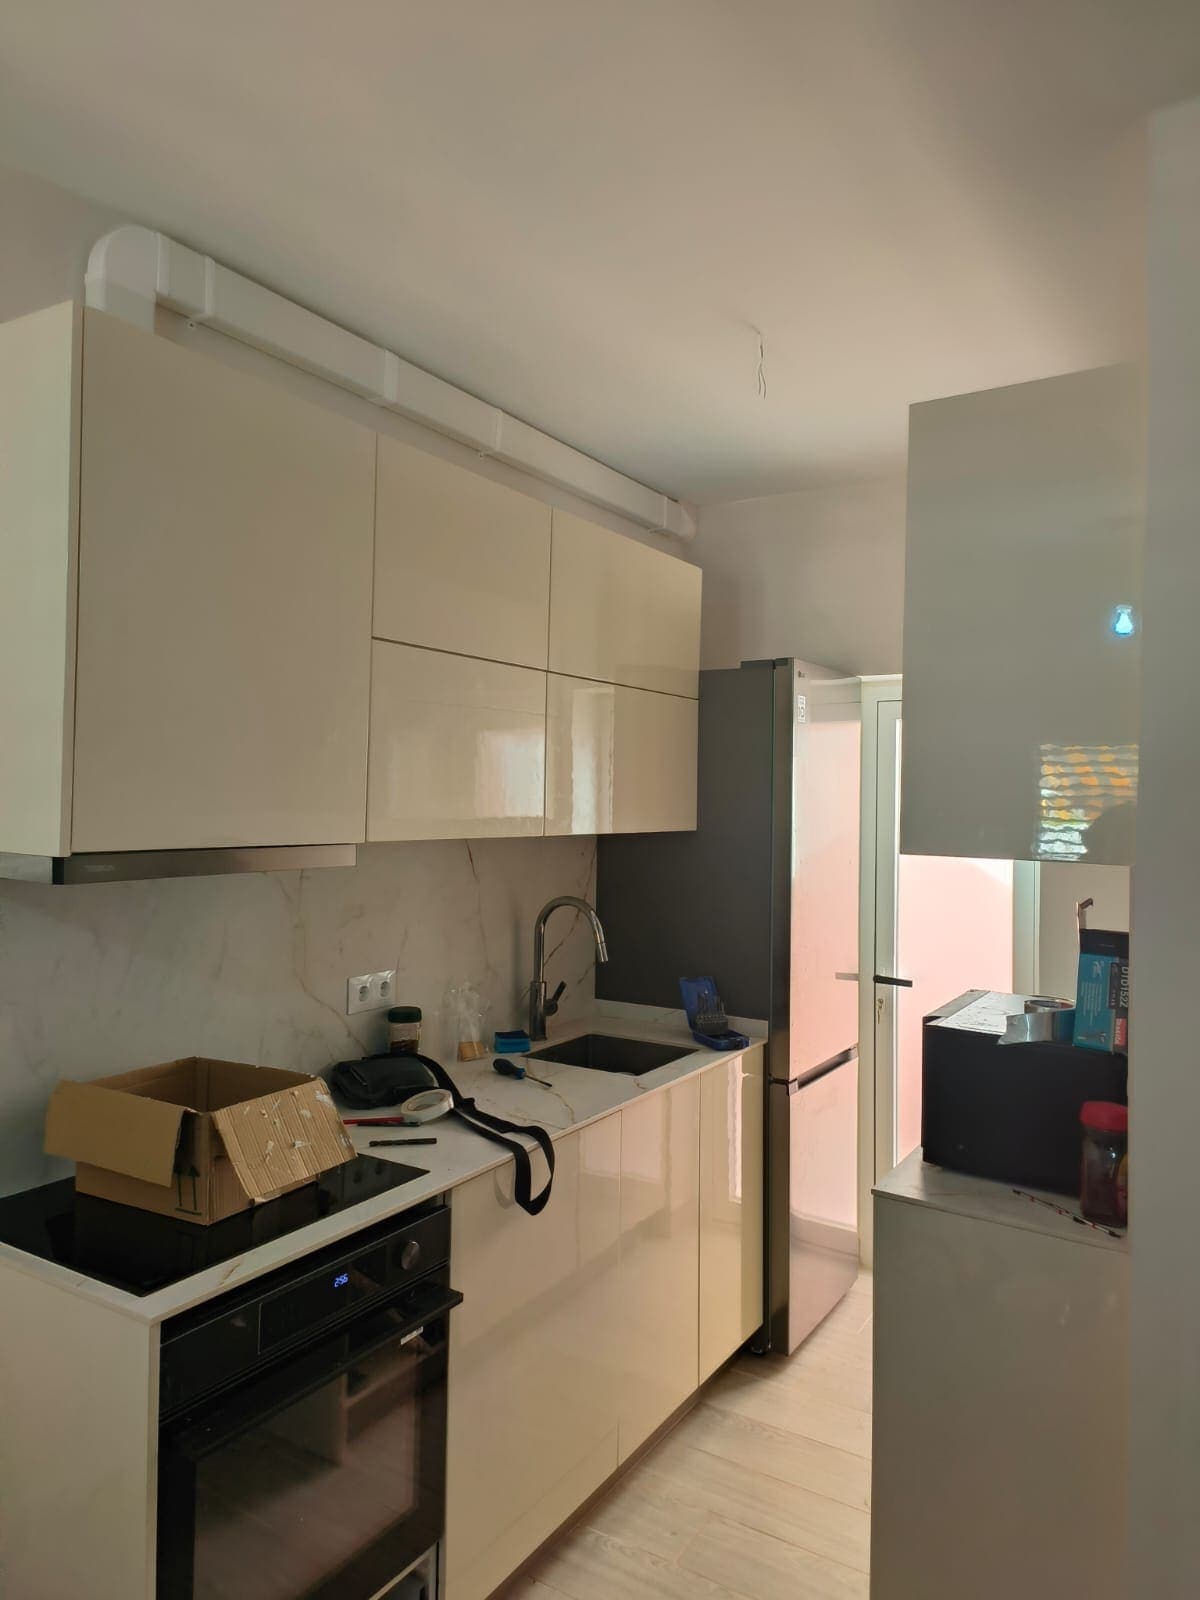
Not every kitchen renovation is a full refurbishment. Here the client already had the room prepared and wanted a white, practical kitchen that could be fitted quickly: base and wall units, worktop, sink, oven with hob, and an extractor hood vented to the outside.
What we did
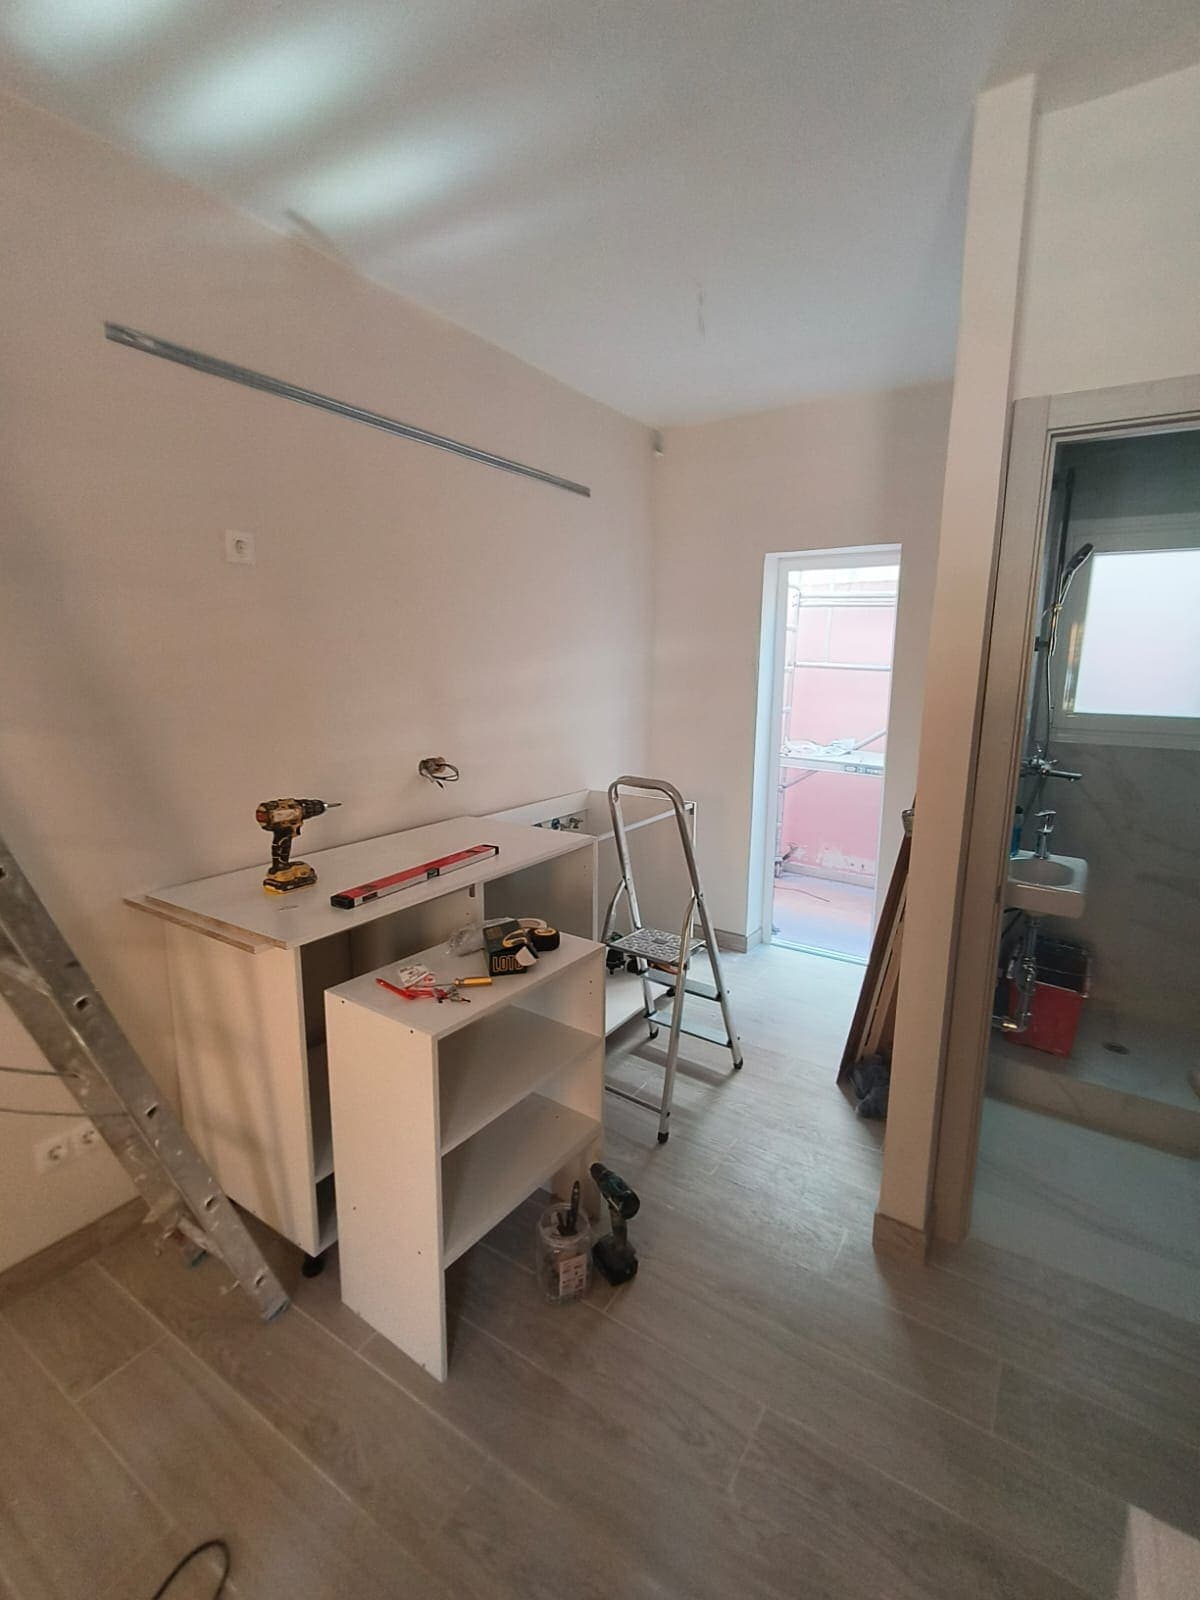
We started by checking that the water supply, waste and electrical points were exactly where the sink, oven and hob needed them. We fitted the base units on adjustable legs, levelled and fixed to each other, and hung the wall units on a hanging rail so the weight is spread evenly across the wall. We ran the extractor hood ducting to the outside by the shortest possible route so it extracts properly.
With the worktop in place, we built in the oven and hob, fitted the sink and tap, and connected water, waste and electrics. We finished by adjusting the doors and drawers and going over every last detail. Yuriy handled the whole installation from start to finish.
Work in progress
Tap a photo to follow the work step by step.
- 1
Room prepared
With the kitchen empty, we checked the water supply, waste and electrical points and marked out the position of each unit on the wall.
- 2
Fitting the base units
We assembled and levelled the base units on adjustable legs, fixed to each other and to the wall.
- 3
Wall units and extractor ducting
We hung the wall units on a hanging rail and ran the extractor hood ducting through to the outside.
- 4
Worktop, oven, hob and sink
We fitted the worktop, built in the oven and hob, installed the sink and connected water, waste and electrics.
Project photos
Tap a photo to enlarge it.
“We wanted a simple, well-fitted kitchen with no fuss. In four days it was up and running, and everything was level and neatly finished.”